Digital Plans

Detailed and rugged teardrop camper blueprints for your next build.

A small vintage camper is situated in a grassy area surrounded by trees. The interior of the camper emits a warm, inviting light through the windows. An outdoor setup includes a chair, a small table, and an umbrella to the left. The scene is set during dusk or early evening, creating a cozy atmosphere.

A rustic outdoor setting featuring an old, yellow camper van with a makeshift canopy attached to its side. The area around the van is grassy with some shadows cast by nearby trees. There is a wooden table with a checkered tablecloth under the canopy.

The Odyssey Project: Step-by-Step

Phase 1: Foundation & Floor

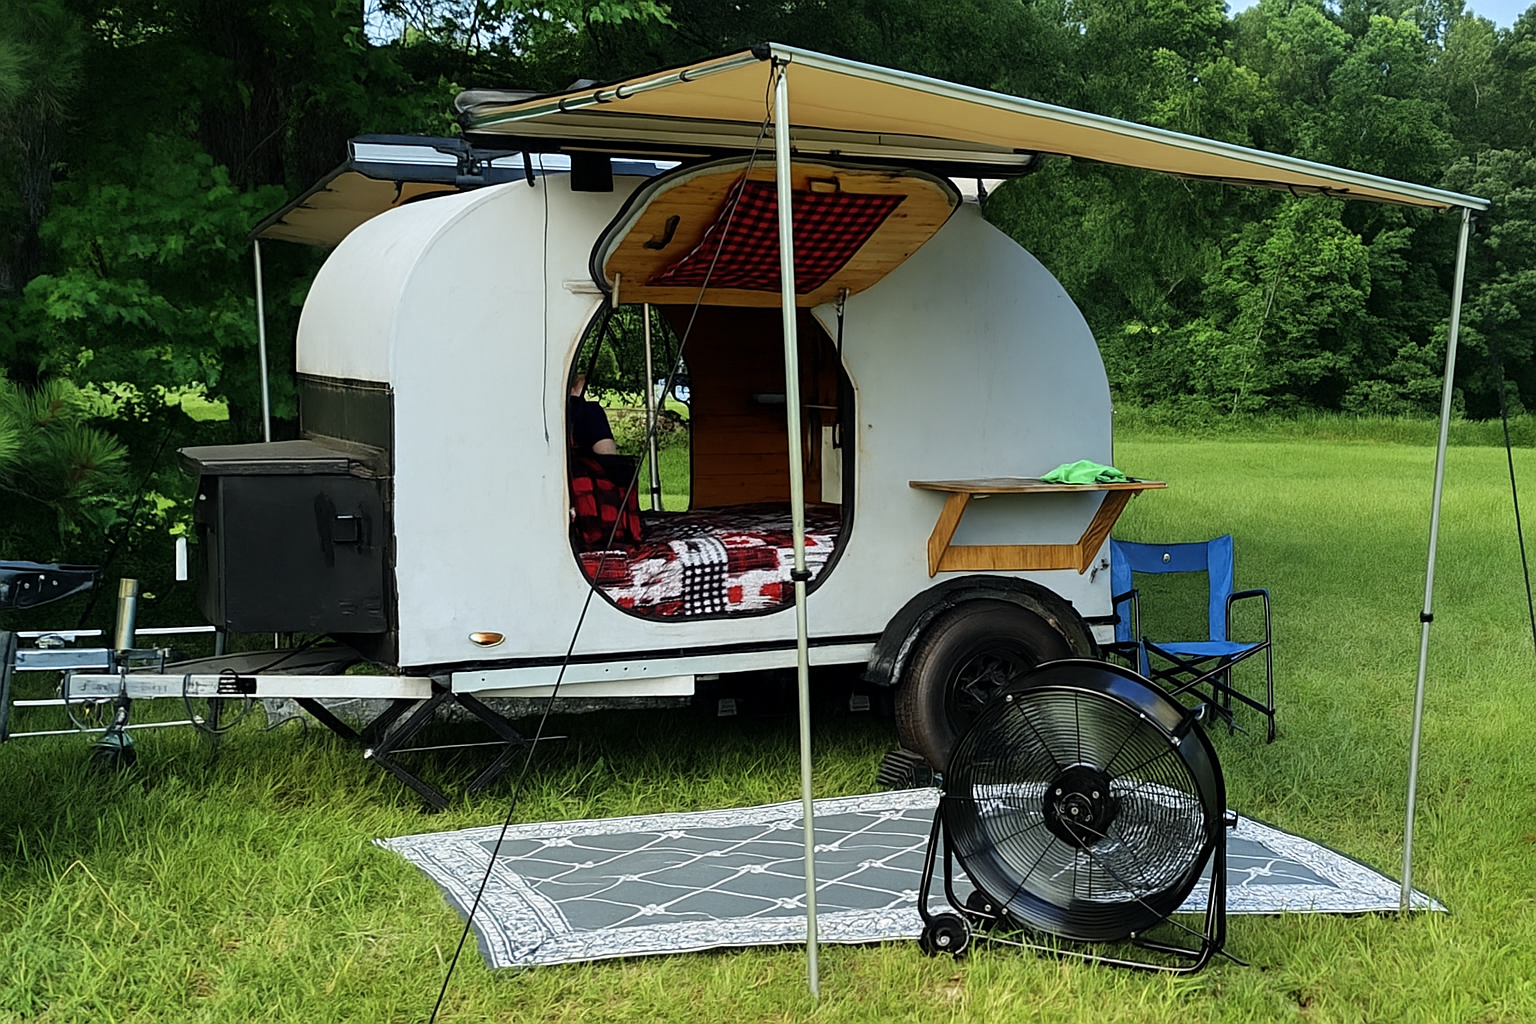
Every great basecamp needs a solid foundation. We began by repurposing a 1970s Camel pop-up tent trailer, stripping it to the bare metal and restoring it with protective paint to ensure a lifetime of rust-free travel.

  • Framing: Built with 1×3 cross supports and 1×4 longitudinal “backbones” aligned to the steel frame.
  • Insulation: Filled with foam board to prevent condensation and keep the cabin temperate.
  • Finishing: A durable sandwich of 1/8″ bottom plywood and 3/4″ sanded top plywood.

Phase 2: The Walls & Interior

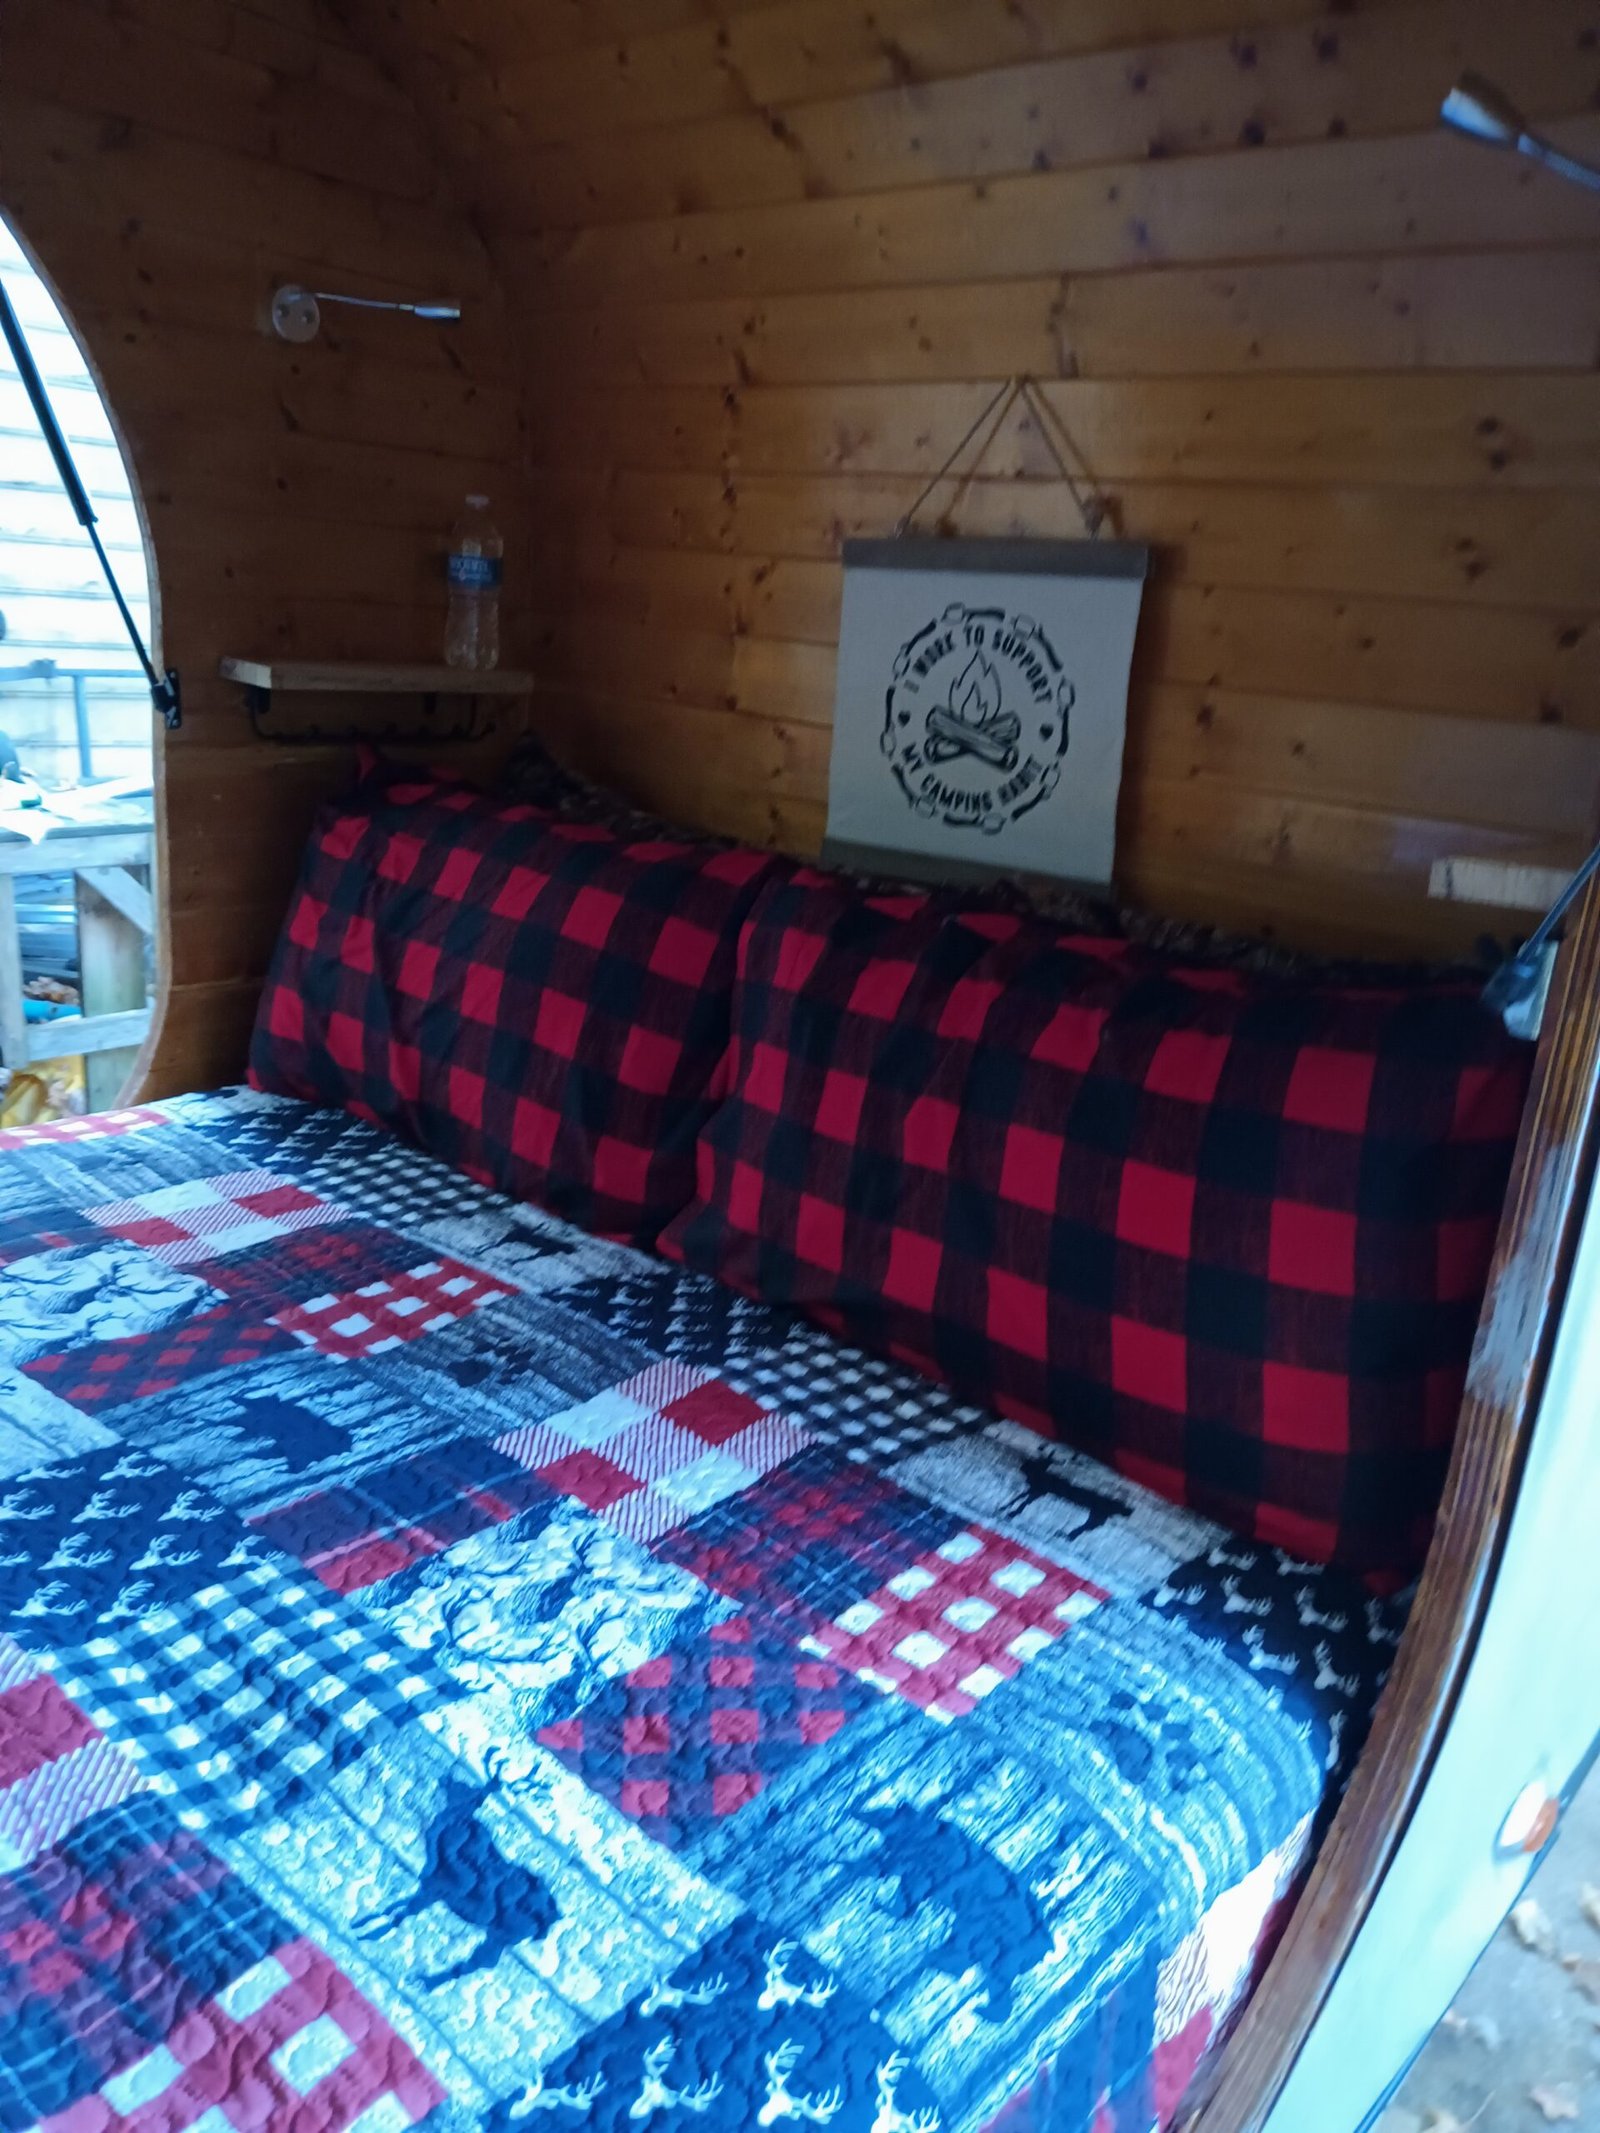
Symmetry and insulation are the keys to a comfortable camper. We used master templates to ensure a perfect mirror image for the side walls and door openings before moving to electrical wiring.

  • Wiring: Pre-installed runs for interior reading lamps and exterior marker lights before sealing.
  • Construction: A sandwich of 5mm exterior plywood and styrofoam insulation bonded with Titebond II.
  • Cabin Vibe: Finished with 1/4″ knotty pine edge V-plank for that cozy, rustic mobile cabin feel.